Direct answer
How Do You Evaluate an Activewear Sample Before Bulk Production?
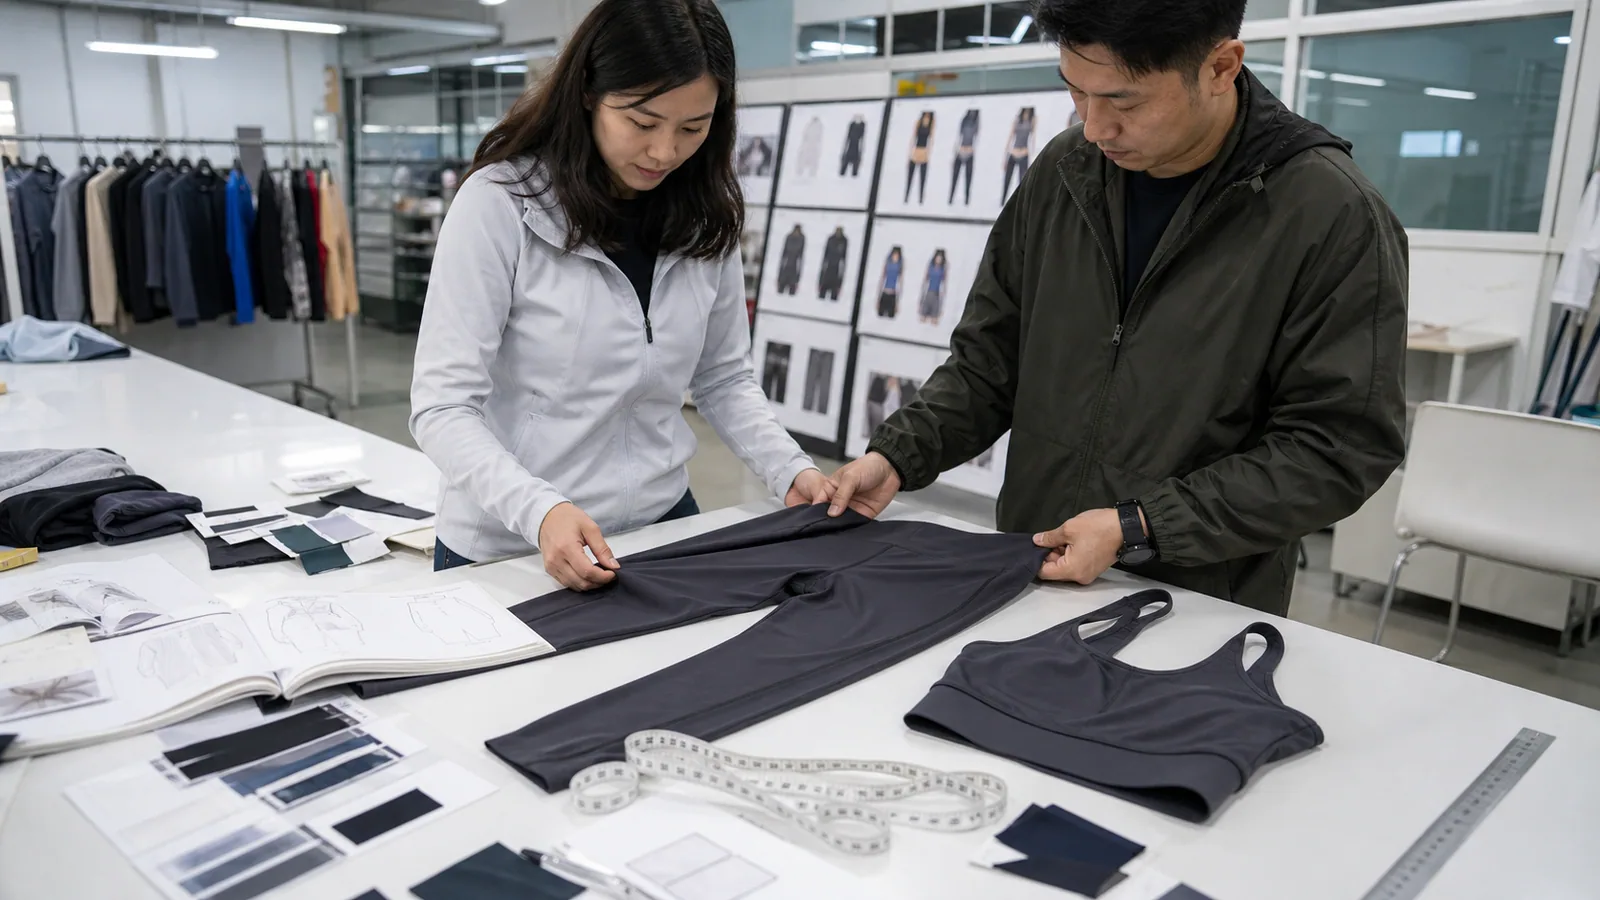
Evaluate an activewear sample against the approved tech pack, measurement tolerances and intended movement, then verify fabric identity, GSM, stretch, recovery, opacity, seams, branding, trims and wash stability. Record every result against the exact sample version. Approve bulk production only when critical failures are closed and the factory has a written, traceable reference covering materials, construction and all accepted changes.
Why a Sample That “Looks Good” Can Still Fail in Bulk
A convincing first impression is not a production control system. Activewear stretches around the body, carries load through waistbands and support panels, and exposes seams to repeated movement. A garment can look balanced on a table yet become transparent, roll at the waist, restrict movement or break at a high-stress seam when worn.
The commercial sequence is design, development sample, fit correction, approval, pre-production reference, bulk manufacturing and inspection. Each stage has a different purpose. The sample gate is where the buyer must translate subjective preferences into measurable acceptance criteria. Otherwise, “approved” may mean only that a photo looked acceptable while the factory still lacks locked measurements, fabric codes, trim specifications or a definitive change list.
This activewear sample quality checklist is a buyer-side decision tool. It does not replace laboratory testing or an agreed quality plan. It helps a brand organize evidence, identify critical risk and decide whether to approve, revise or stop. The aim is repeatability: bulk pieces should be judged against the same reference that the buyer inspected, not against memory or scattered chat messages.
Which Activewear Sample Are You Reviewing?
Factory terminology varies, so confirm the purpose and material status of each sample in writing before applying an approval decision.
| Sample type | Primary purpose | Typical approval focus |
|---|---|---|
| Development sample | Translate the concept into an initial garment. | Silhouette, feasibility and major construction direction. |
| Fit sample | Validate pattern, balance and movement. | Measurements, pressure, mobility and coverage. |
| Size-set sample | Review grading across selected sizes. | Proportions, grade rules and functional consistency. |
| Color or lab-dip sample | Approve color direction. | Shade under agreed light and compatibility across components. |
| Pre-production sample | Represent intended bulk materials and construction. | Complete specification, trims, branding and workmanship. |
| Shipment sample | Represent finished bulk output. | Conformity to sealed reference and order requirements. |
How to Run a Repeatable Sample Inspection
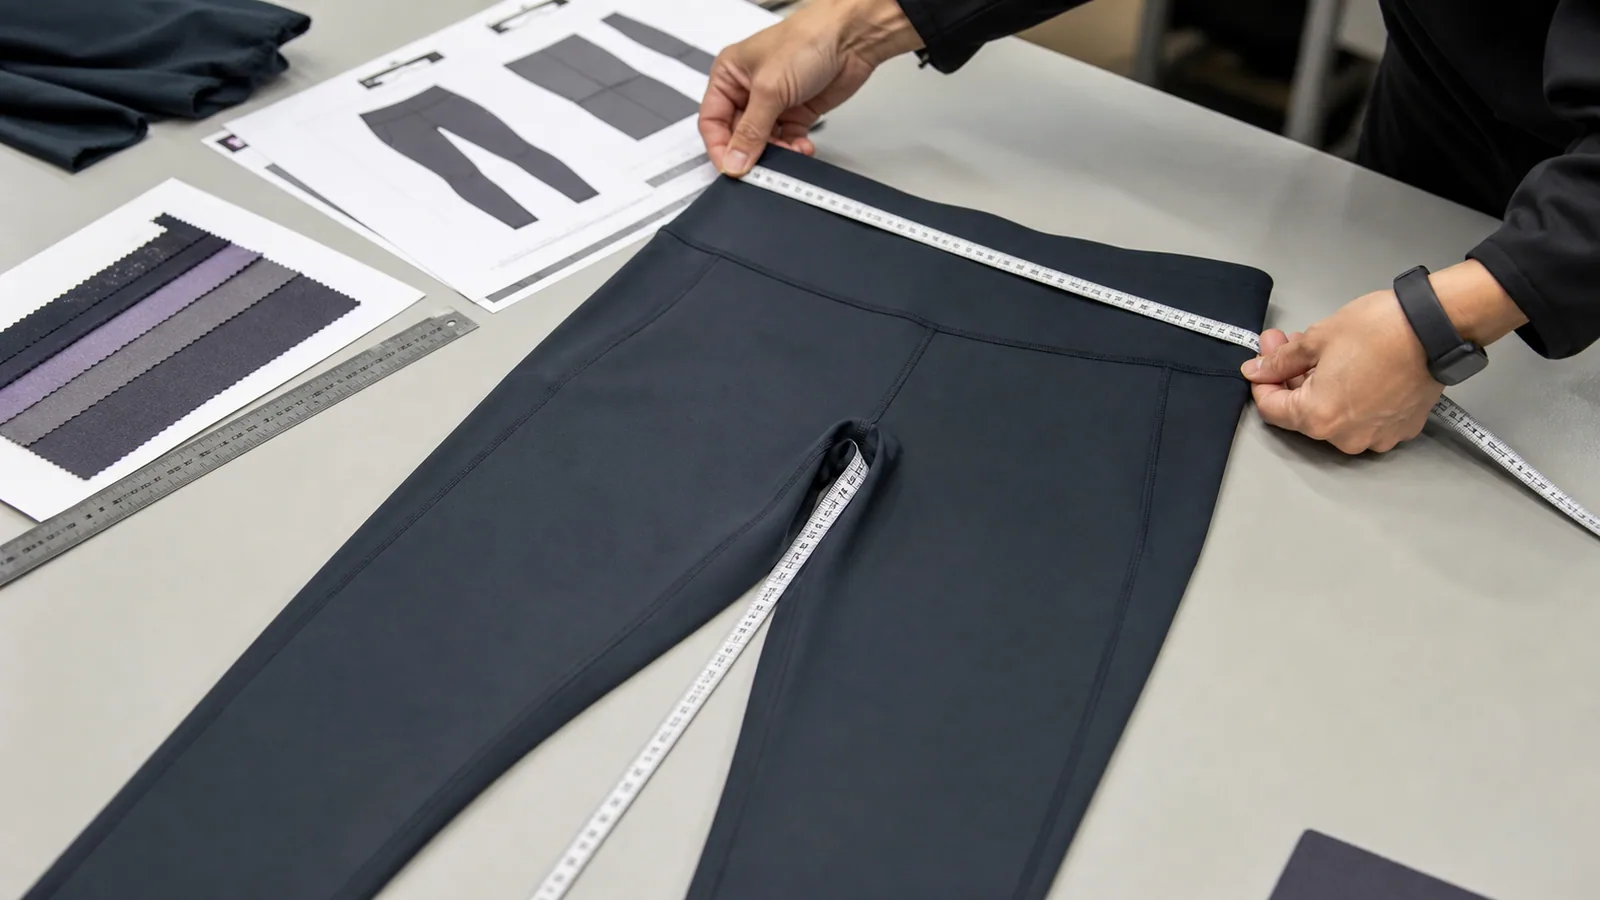
A useful inspection depends on controlled methods, not only a longer checklist. Prepare one review area with stable light, a flat measuring surface, a calibrated scale where GSM is being checked, the latest specification, approved color and material references, and a camera. Record the sample identifier before opening the review. If two samples look similar but carry different revisions, comments can easily be applied to the wrong garment.
Control the measurement conditions
Allow the garment to rest before measuring, particularly after transport or wear testing. Close fastenings as specified, smooth the garment without pulling it, and use the landmarks defined in the measurement sheet. Record actual values, not only pass or fail. When a point falls outside tolerance, photograph the tape position so the factory can reproduce the method. For elastic openings, specify whether the dimension is relaxed, gently extended or measured around a form. A tolerance has meaning only when both sides use the same method.
Separate wearer feedback from measurable fit
A fit session should use the intended size on a wearer or form representing the target body measurements. Observe posture, balance and ease while standing. Then perform a consistent movement sequence and record pressure, slipping, rubbing, restriction or insufficient support. Convert feedback into a location and requested outcome. “Too tight” is ambiguous; “reduce pressure at the front armhole while preserving underband support” is actionable. Do not change several pattern areas at once unless their relationship is understood, because one adjustment can alter coverage, compression and seam position elsewhere.
Test movement in the real use case
Generic stretching is insufficient. Leggings need deep flexion, walking and repeated waistband loading. Tennis products need rotation, overhead reach and rapid stride. Golf tops need shoulder turn without the hem climbing. Sports bras need activity appropriate to the promised support level. Record whether a failure occurs immediately or only after repetition. A waistband that holds for one squat but slides after ten minutes is still a functional problem. Test pockets with a realistic phone or ball where that is part of the design.
Verify material identity before judging performance
Performance comments are unreliable if the sample material is temporary. Confirm fabric code, fiber content, color, GSM target, finish and trim status. If substitute fabric is used for a fit sample, mark which conclusions are provisional. Fit may change when the final fabric has different stretch force, recovery or thickness. Where composition, moisture management, colorfastness or chemical compliance matters, request appropriate supplier documentation or independent test evidence. Handfeel and wear observations are useful, but they cannot prove a technical claim.
Create a garment-level fabric test record
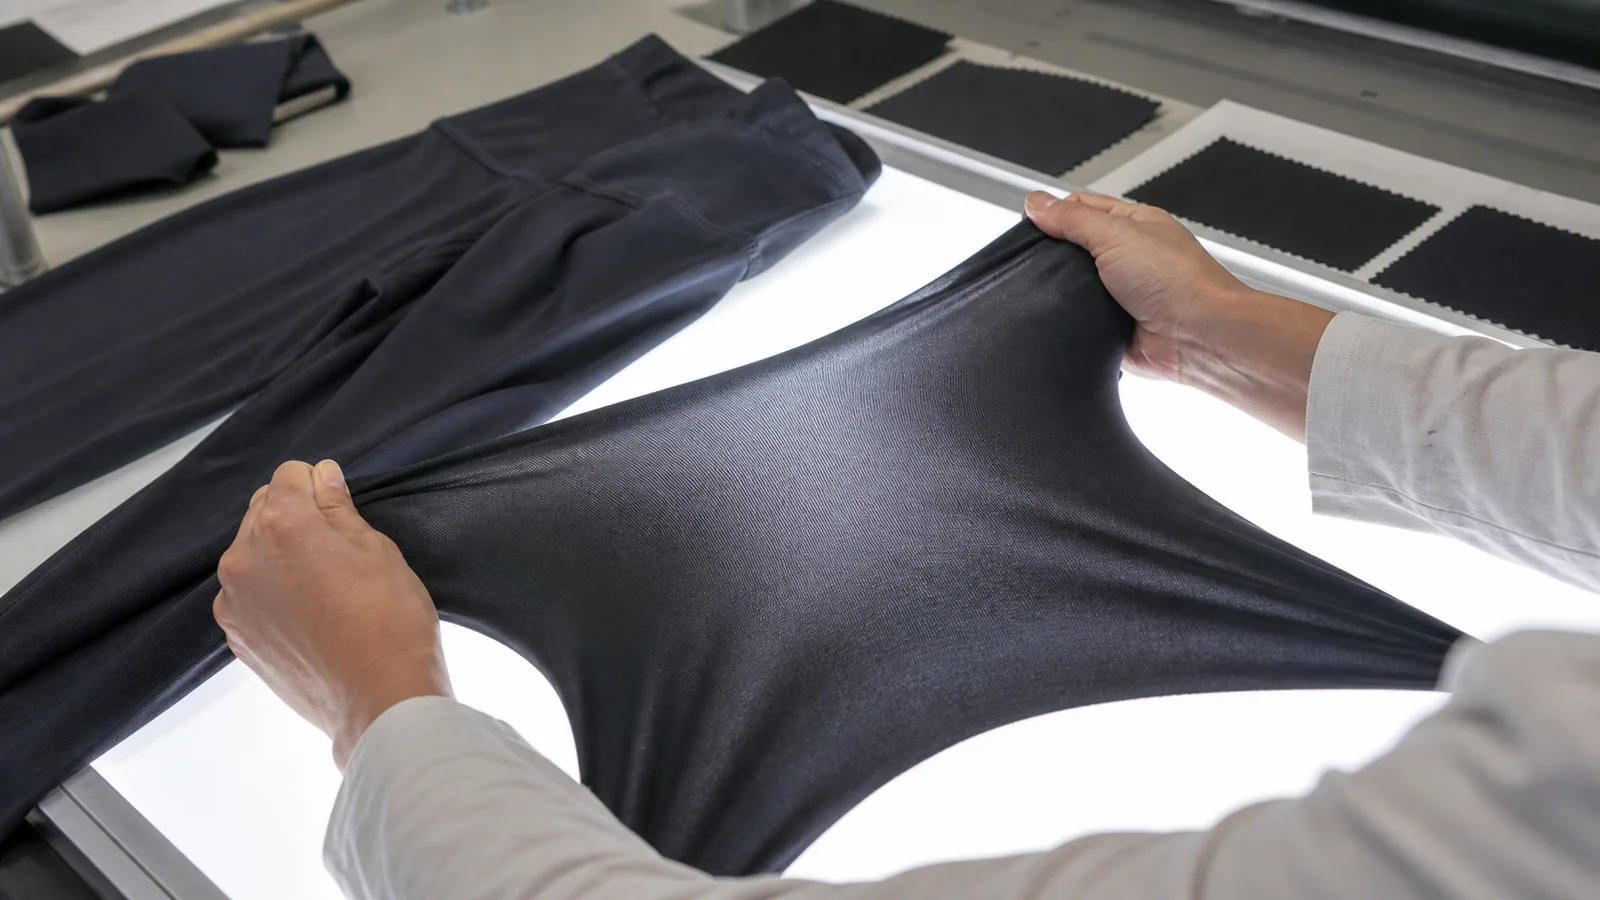
Define repeatable checks: stretch in both directions, recovery after a stated hold, opacity in stated lighting, surface change after rubbing, and comparison before and after washing. Photograph the same garment area at the same distance. For opacity, review the intended color and size on the body; a flat swatch held to a window does not reproduce strain at the seat, thigh or gusset. For recovery, note time as well as appearance. Immediate snap-back and recovery after several minutes are different observations.
Inspect construction from outside and inside
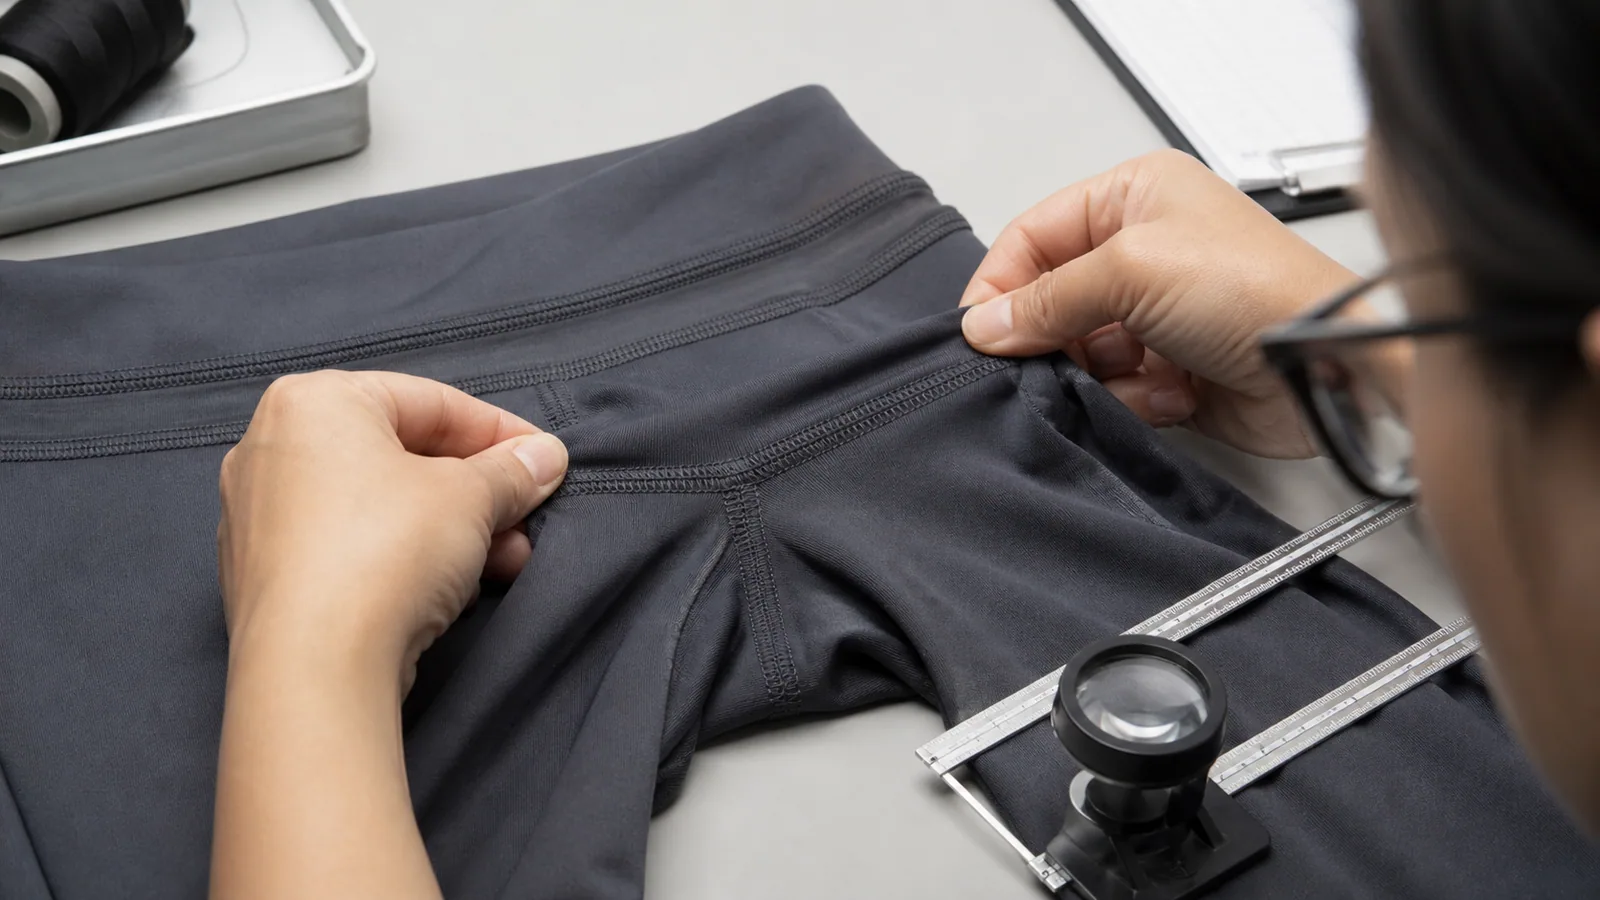
Turn the garment inside out. Trace each seam and compare stitch type, seam allowance, elastic capture and reinforcement with the specification. Stretch seams gradually rather than jerking them. Listen for thread breakage and look for popped stitches, whitening, tunneling or edge exposure. Check whether thread ends are secured and whether bar tacks are located where load occurs. Seam appearance can be acceptable while elongation is inadequate, so visual and functional checks are both required.
Review color, logos and trims as one system
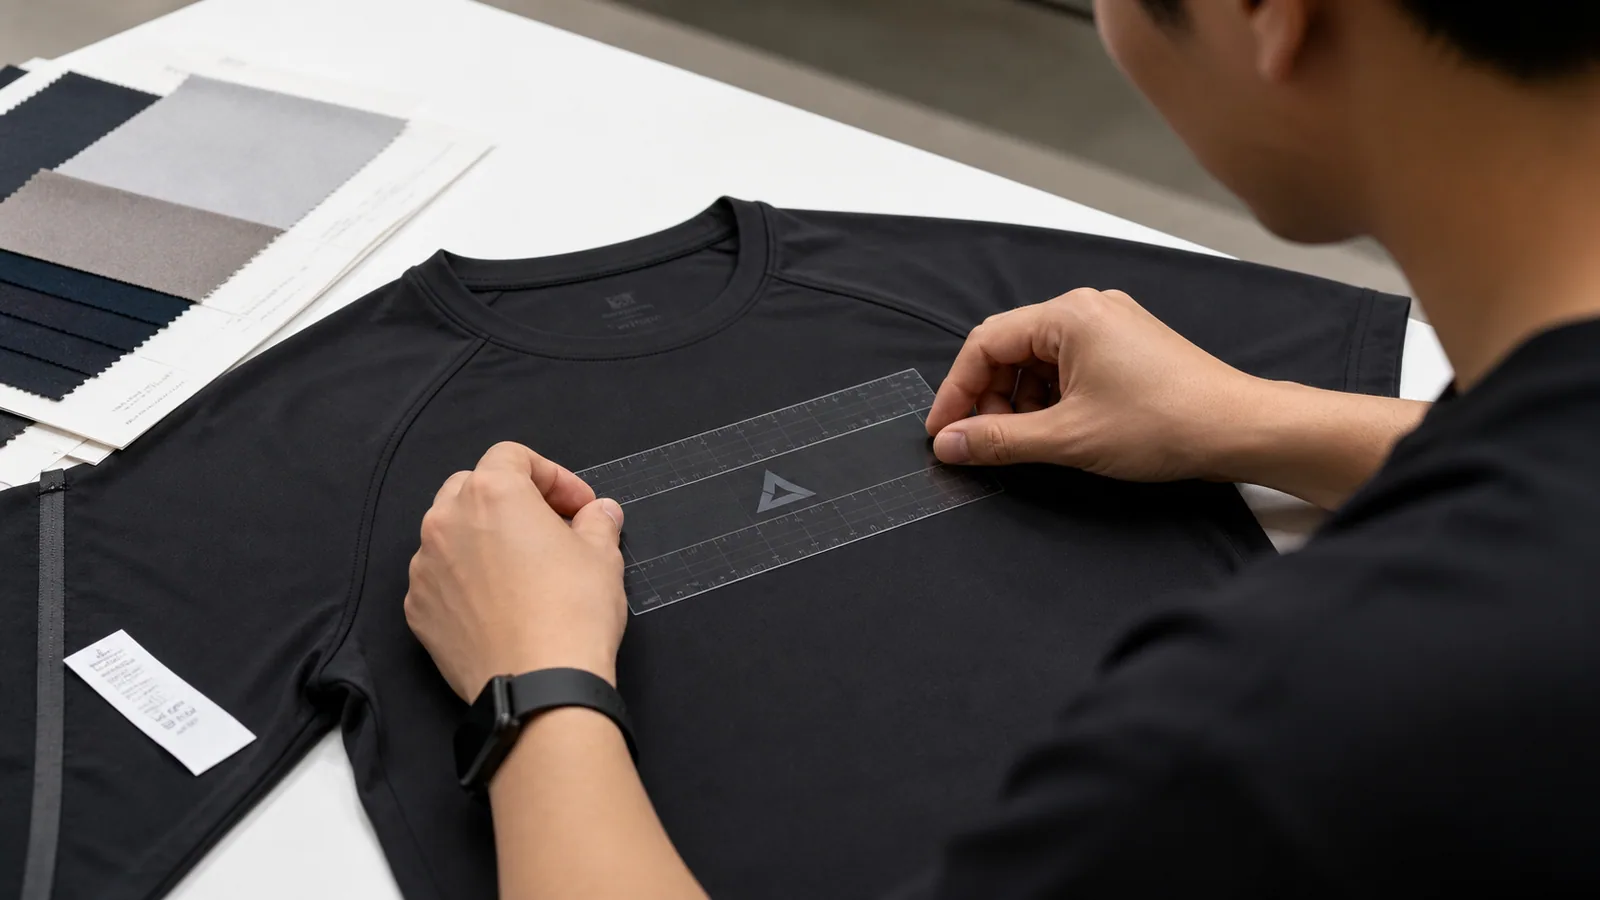
Compare body fabric, mesh, lining, thread, elastic, zippers, labels and transfers under the same light. State the light source when color is critical. Measure logo location from fixed landmarks and record width, height and orientation. Inspect heat transfers for edge lift and surface distortion before and after washing. Check labels while the garment is worn because an accurately placed care label can still irritate skin. Confirm that care wording and fiber content match the approved material information.
Close comments with evidence and ownership
Issue one consolidated report rather than fragmented messages. Number every comment, label it critical or noncritical, show the location, state the expected correction, assign responsibility and identify whether a new physical sample is required. When a correction is accepted without another sample, document why the risk is low and how it will be checked in production. Keep rejected and approved revisions distinguishable. Final approval should reference the exact garment, specification date and change log so purchasing, production and inspection teams use the same source.
How to Set Acceptance Priorities
Not every observation carries the same production risk. Before reviewing, classify requirements as critical, major or minor. Critical requirements include product safety, incorrect material identity, serious coverage or support failure, and construction that cannot withstand intended movement. Major requirements affect fit, function, measurements, color, durability or visible branding and normally require correction before bulk approval. Minor requirements are limited variations that do not change function, sellability or the approved appearance. The classification must be agreed for the project; it should not be invented after a failure appears.
Also distinguish sample approval from shipment acceptance. The approved sample defines the target, while the bulk inspection plan defines how units will be sampled and what variation is acceptable. A perfect sample does not prove every bulk unit will match it. Buyers should connect the sealed sample to incoming material checks, first-piece review, inline inspection and final inspection where project risk justifies those controls. If the order contains several colors or size groups, identify which differences require separate references.
Record conditions that can change the result
Note sample size, wearer measurements, room light, wash program, drying method, test duration and any load placed in pockets. Keep before-and-after photographs with consistent framing. If the buyer cannot reproduce the test, the factory cannot reliably reproduce the correction. For subjective criteria such as handfeel, use an approved swatch or garment as the comparison reference. For measurable criteria such as dimensions, color tolerance or performance claims, define the instrument, method or external standard when appropriate.
Plan what happens after approval
Once the pre-production sample passes, issue a controlled approval record and retain one sealed reference with the buyer or inspection party where practical. The factory should identify its matching production reference. Purchase order, bill of materials, pattern revision, color standard, artwork and packaging instructions must point to the same approved state. Any post-approval substitution should trigger written review because a change in fabric lot, elastic, thread, transfer or sewing method can alter fit and durability even when the visual design remains unchanged.
The 25-Point Activewear Sample Quality Checklist
Complete the checks in order. Measurement and specification establish the reference; movement exposes functional risk; fabric and construction checks explain performance; branding and wash review close the approval record.
Compare the sample with the approved tech pack
Confirm style lines, components, construction notes and revision number.
Measure critical points and tolerances
Record every critical point of measure instead of relying on visual fit.
Check left-to-right symmetry
Compare legs, armholes, straps, pockets and seam positions.
Review size-grading logic
Confirm the approved sample can grade without distorting proportions or function.
Assess static fit
Check balance, ease, pressure points, neckline, rise and garment hang.
Run movement tests
Squat, lunge, reach, twist and repeat product-specific movements.
Test waistband stability
Verify the waistband does not roll, slide, gape or create excessive pressure.
Review gusset and crotch construction
Check coverage, comfort, seam position and tension through movement.
Confirm the intended support level
Evaluate compression, bounce control and comfort for the stated activity.
Verify fiber composition
Match the label, fabric specification and approved swatch or test report.
Confirm fabric GSM
Compare measured weight with the approved specification and tolerance.
Test four-way stretch
Check stretch in both course and wale directions at garment level.
Evaluate recovery
Observe whether stretched areas return without bagging, rippling or distortion.
Check opacity and squat-proof performance
Test the worn garment under normal and deep stretch in relevant lighting.
Assess handfeel against the brief
Review softness, surface, drape, friction and next-to-skin comfort.
Review breathability and moisture claims
Separate subjective wear observations from claims requiring verified testing.
Inspect seam quality
Look for skipped stitches, loose threads, tunneling, puckering and uneven density.
Stretch high-stress seams
Apply controlled tension to waist, crotch, underarm and support seams.
Confirm seam placement
Ensure seams support movement and do not create avoidable rubbing or pressure.
Inspect edge finishing
Check hems, bindings, elastic joins, bar tacks and cut edges.
Verify logo placement and application
Measure position, inspect alignment, adhesion, color and surface distortion.
Compare color with the approved standard
Review body fabric, panels, thread, elastic and trims under consistent light.
Check labels, care content and trims
Confirm wording, size, placement, comfort, orientation and attachment.
Complete a controlled wash test
Record shrinkage, twisting, color change, pilling, delamination and recovery.
Document the final approved sample
Lock version, date, measurements, fabric code, color, logos, trims and all changes.
Master Buyer Inspection Table
Use this table as a review record. Replace the blank notes with measurements, photos, test conditions and the required correction. “Pass” should mean the requirement is verified, not merely discussed.
| Area | Check | Pass / Revise | Buyer notes |
|---|---|---|---|
| 1. Specification | Compare the sample with the approved tech pack Confirm style lines, components, construction notes and revision number. | Pass / Revise | |
| 2. Measurement | Measure critical points and tolerances Record every critical point of measure instead of relying on visual fit. | Pass / Revise | |
| 3. Measurement | Check left-to-right symmetry Compare legs, armholes, straps, pockets and seam positions. | Pass / Revise | |
| 4. Sizing | Review size-grading logic Confirm the approved sample can grade without distorting proportions or function. | Pass / Revise | |
| 5. Fit | Assess static fit Check balance, ease, pressure points, neckline, rise and garment hang. | Pass / Revise | |
| 6. Fit | Run movement tests Squat, lunge, reach, twist and repeat product-specific movements. | Pass / Revise | |
| 7. Fit | Test waistband stability Verify the waistband does not roll, slide, gape or create excessive pressure. | Pass / Revise | |
| 8. Fit | Review gusset and crotch construction Check coverage, comfort, seam position and tension through movement. | Pass / Revise | |
| 9. Support | Confirm the intended support level Evaluate compression, bounce control and comfort for the stated activity. | Pass / Revise | |
| 10. Fabric | Verify fiber composition Match the label, fabric specification and approved swatch or test report. | Pass / Revise | |
| 11. Fabric | Confirm fabric GSM Compare measured weight with the approved specification and tolerance. | Pass / Revise | |
| 12. Fabric | Test four-way stretch Check stretch in both course and wale directions at garment level. | Pass / Revise | |
| 13. Fabric | Evaluate recovery Observe whether stretched areas return without bagging, rippling or distortion. | Pass / Revise | |
| 14. Fabric | Check opacity and squat-proof performance Test the worn garment under normal and deep stretch in relevant lighting. | Pass / Revise | |
| 15. Fabric | Assess handfeel against the brief Review softness, surface, drape, friction and next-to-skin comfort. | Pass / Revise | |
| 16. Fabric | Review breathability and moisture claims Separate subjective wear observations from claims requiring verified testing. | Pass / Revise | |
| 17. Construction | Inspect seam quality Look for skipped stitches, loose threads, tunneling, puckering and uneven density. | Pass / Revise | |
| 18. Construction | Stretch high-stress seams Apply controlled tension to waist, crotch, underarm and support seams. | Pass / Revise | |
| 19. Construction | Confirm seam placement Ensure seams support movement and do not create avoidable rubbing or pressure. | Pass / Revise | |
| 20. Construction | Inspect edge finishing Check hems, bindings, elastic joins, bar tacks and cut edges. | Pass / Revise | |
| 21. Branding | Verify logo placement and application Measure position, inspect alignment, adhesion, color and surface distortion. | Pass / Revise | |
| 22. Color | Compare color with the approved standard Review body fabric, panels, thread, elastic and trims under consistent light. | Pass / Revise | |
| 23. Trims | Check labels, care content and trims Confirm wording, size, placement, comfort, orientation and attachment. | Pass / Revise | |
| 24. Durability | Complete a controlled wash test Record shrinkage, twisting, color change, pilling, delamination and recovery. | Pass / Revise | |
| 25. Approval | Document the final approved sample Lock version, date, measurements, fabric code, color, logos, trims and all changes. | Pass / Revise |
Product-Specific Sample Tests
Yoga leggings
Prioritize squat opacity, waistband roll, crotch comfort, gusset coverage, seam stretch and recovery at knees and seat. Read the squat-proof leggings analysis, activewear GSM guide and waistband design guide before approving a high-stretch style.
Sports bras
Check underband stability, strap pressure, cup or liner position, neckline containment, elastic joins and bounce control for the stated activity. Support is a system involving pattern, fabric stretch, elastic and construction, not one material number.
Tennis dresses and skorts
Test serve reach, rotation, stride, pocket access, inner-short stability and skirt recovery after sitting. Use the tennis apparel manufacturing guide for category-specific sourcing context.
Golf polos
Review shoulder rotation, collar recovery, placket alignment, sleeve mobility, hem balance and appearance after wash. Confirm embroidery or heat-transfer placement while the garment is worn.
Swimwear
Assess wet stretch, lining coverage, elastic containment, seam comfort and color transfer using agreed methods. Chlorine, salt and UV performance claims require appropriate testing rather than visual sample approval alone.
Seven Common Sample Failures and the Correct Buyer Response
| Observed problem | Probable cause | What the buyer should request |
|---|---|---|
| Transparent under normal stretch | Low knit density, excessive pattern reduction, color effect or unsuitable construction. | Retest a revised fabric/pattern combination in the intended size and color. |
| Waistband rolls during movement | Width, elastic, layer structure or pattern tension is not balanced. | Revise waistband engineering and repeat movement testing. |
| Logo peels after wash | Incorrect transfer, pressure, temperature, substrate or curing. | Document application parameters and provide a washed revised sample. |
| Measurements outside tolerance | Pattern, cutting, sewing method or measurement procedure differs. | Correct the pattern/process and return a measured sample with report. |
| Seam breaks under stretch | Stitch type, density, thread or seam allowance is unsuitable. | Engineer the seam for required elongation and retest. |
| Color does not match | Unapproved dye lot, light source mismatch or component variation. | Compare under the agreed light and approve a controlled standard. |
| Standing fit is acceptable but exercise fails | Static fitting did not represent movement, load or support needs. | Revise fit and repeat the full activity-specific movement protocol. |
Approve, Revise or Do Not Approve?
| Decision | Use when | Required record |
|---|---|---|
| Approve | All critical requirements pass and minor accepted variation is documented. | Signed or traceable approval tied to the sealed sample and specification. |
| Revise | The direction is viable but one or more correctable requirements fail. | Numbered change list, photos, target values and a new revision identifier. |
| Do not approve | Safety, fit, material identity, function or repeated critical failures remain unresolved. | Written rejection reasons and decision to redesign, change material or stop. |
A 12-Step Sample Approval Workflow
- Confirm the sample type and version.
- Prepare the latest tech pack, measurement sheet and approved materials.
- Photograph the sample in a controlled setup.
- Measure all critical points using one agreed method.
- Conduct static fitting in the intended size.
- Run activity-specific movement tests.
- Verify fabric identity, GSM, stretch, recovery and opacity.
- Inspect seams, finishing, trims and branding.
- Complete the documented wash test where relevant.
- Classify every item as pass, revise or not applicable.
- Issue one consolidated change list and receive the corrected reference.
- Seal the approved sample and link it to bulk QC instructions.
For development context, see custom sportswear sample development, production quality control and the sportswear buyer guide.
Buyer and Manufacturer Responsibilities
| Topic | Buyer responsibility | Manufacturer responsibility |
|---|---|---|
| Product brief | Define use, user, fit, support and acceptance priorities. | Review feasibility and identify missing or conflicting requirements. |
| Specifications | Approve measurements, tolerances, materials and visual standards. | Build to the current controlled documents and report deviations. |
| Testing | State required methods, markets and evidence. | Arrange agreed testing and provide traceable results. |
| Changes | Consolidate comments and issue clear decisions. | Mark revision status and implement only approved changes. |
| Bulk control | Approve reference and inspection scope. | Maintain material/process consistency and support inspections. |
How Cantingwear Supports Sample Validation
Canting Activewear supports OEM/ODM development, private-label customization, fabric sourcing, sampling and bulk manufacturing. A useful factory discussion connects the product brief to an identifiable fabric, measurable fit, agreed construction and a written approval record. Buyers should still define market requirements and request evidence appropriate to their product.
When comparing fabric directions, use the nylon-spandex fabric guide and four-way stretch guide as technical context rather than treating fiber ratio or GSM as a standalone quality grade.
Frequently Asked Questions
What should a buyer check before approving an activewear sample?
Check the approved specification, measurements, fit in motion, waistband or support behavior, fabric identity, GSM, stretch, recovery, opacity, construction, branding, trims and wash performance. Record the result against the exact sample version.
What is a pre-production sample in activewear manufacturing?
A pre-production sample is the reference made with intended bulk materials, trims, branding and construction after development comments are resolved. It should represent the specification the factory will follow for bulk production.
How many sample revisions are normal?
There is no universal number. Revision count depends on product complexity, tech-pack quality, fabric availability and the size of each change. Approval should depend on resolved requirements, not a target number of rounds.
Should an activewear sample be washed before approval?
Yes when wash behavior can affect fit, color, recovery, print adhesion, pilling or dimensional stability. Use a documented wash method and compare before-and-after measurements and appearance.
How do you test leggings opacity?
Test the worn garment under controlled light during standing, bending and deep squat positions. Evaluate the intended size and color because stretch, fit, knit density and dye shade all affect opacity.
What happens after pre-production sample approval?
The buyer issues written approval tied to the exact sample and change log. The factory then prepares bulk materials and production references, while agreed inline and final inspections verify conformity.
Can bulk production differ from the approved sample?
Variation is possible if materials, machines, operators or process settings are not controlled. A sealed reference sample, approved specifications, material codes and inspection plan reduce that risk.
How should sample changes be documented?
Use a dated change log with photos, marked measurements, tolerances, material and color codes, logo dimensions, trim details and clear pass or revise decisions. Avoid approval by chat message alone.
What is the difference between a fit sample and a pre-production sample?
A fit sample validates pattern, measurements and movement, sometimes in substitute materials. A pre-production sample should combine the approved fit with intended bulk fabric, trims, color, branding and construction.
Do startups need the same sample approval process as established brands?
Yes. The depth can scale with product risk and resources, but startups also need a repeatable written reference. A smaller order does not remove fit, material or construction risk.
Sampling and production planning
Developing a New Activewear Collection?
If your brand is preparing leggings, sports bras, tennis apparel, golf clothing, swimwear or other performance products, sample development is the stage where fit, fabric and construction decisions should be validated before bulk production.
Canting Activewear supports OEM/ODM product development, fabric sourcing, sampling, private label customization and bulk manufacturing.